

Portray interiors generally is a little bit of a problem. There are a number of elements that should be discovered after which applied to create a profitable composition. The primary and most elementary factor is perspective. It’s merely not possible to color a plausible object with out absolutely understanding its interplay with its environment.The second half is lighting – after getting the weather designed, you need to shade them in keeping with a constant mild supply and make them work together with one another by way of color. For these steps, some theoretical information is required.Lastly, there are colors and textures to think about. Other than the theoretical information of learn how to compose the scene, you continue to have to truly color and shade it in actual life. That’s the place information and expertise of what your software program can do come into play. The preliminary stage of this portray was created utilizing Photoshop, however the absolute core, the definition course of, was accomplished in Painter. I’ll describe the levels of working in each of those applications and provides the the explanation why I switched between them throughout my portray course of.
You might like
(Learn Marta’s recommendation under, and keep in mind, whereas she makes use of Photoshop, the following tips may be utilized to all the perfect digital artwork software program, utilizing the perfect drawing tablets.)Marta DahligSocial Hyperlinks NavigationArtist and illustratorMarta Dahlig is a gifted Polish artist who has been working with Photoshop and Painter for years. She’s at present a contract illustrator. She has freelanced for ImagineFX and now illustrates youngsters’s books written by her mum.
01. One-point perspective
One-point perspective is a scenario through which parallel strains converge to 1 level someplace within the far distance. That is the vanishing level. One-point perspective is the simplest method to give a portray a sense of depth and is usually used for depicting streets, railroads, and so forth. To assemble a one-point perspective, first draw a horizon line (1) with a spot in the midst of it. (This would be the vanishing level.) Then paint in a rectangle (2) someplace under the horizon line. Now draw strains connecting the corners of the rectangle with the vanishing level (3). Lastly, place a form connecting these strains (4), whereas remaining parallel to the sting of the field.
02. Two-point perspective
Two-point perspective is a scenario in which you’ll be able to see a one-point perspective object rotated. In different phrases, you possibly can depict the identical object as in one-point perspective, but in addition rotate it on one other axis – helpful when portray interiors. For this, use two vanishing factors. Draw a horizon line with two spots on it, far other than one another (1). Subsequent, draw a vertical line under the horizon (2), then paint in development strains from the highest and backside of the road (3) all the best way to the vanishing factors. Now paint in two further vertical strains (4). Lastly, paint in development strains from the vanishing factors to the opposite corners (5).
03. Three-point perspective
Three-point perspective is a view the place you see the two-point perspective rotated on a 3rd axis. It’s helpful when portray a constructing from above or under. To color an object on this manner, paint the horizon with two vanishing factors (1); a vertical line (2); development strains linking it with vanishing factors (3); and the additional vertical strains simulating partitions (4). Do the final step with a dashed line, for the reason that solely wanted elements are the intersections (factors A and B). Now, join A and B with the vanishing factors (5). Paint in a 3rd vanishing level under the vertical line and join A and B with it (6).
04. Preliminary sketching
I believe you’ve sufficient of the idea now, so let’s transfer on to apply. Inside scenes normally use two-point views, and that’s precisely what I’m creating right here. After sketching within the fundamental two-point perspective strains, I create a fundamental scene format. As you possibly can see, I’m not utilizing generated strains, not like within the earlier workout routines. I don’t take care of too technical a glance and wish to preserve this scene wanting painterly.
05: Gentle supply points
Nonetheless utilizing Photoshop, I sketch in a fundamental mild supply and a few colored and a few colored blobs to counterpoint the uncooked look. The sunshine supply is a fundamental ambient mild with further directional illumination. So far as the directional mild goes, I’m not too scientific. The size of the window’s shadow ought to technically be decided by the place of the solar, however so long as the angle is okay, I’m positive with it as it’s.
06: Coping with wooden
To work on textures, I transfer the picture into Painter: it encourages much less specific strokes in my workflow than Photoshop, and is wonderful for hinting at element slightly than strengthening it. Wooden is among the many most typical surfaces you’ll see, so it’s good to know learn how to paint it shortly. In interiors, you normally received’t should texture a wood plank up shut: simply realizing the tips for portray panelled flooring can be sufficient. What you do is apply colors, scattering shades over the ground to simulate wooden’s pure variations. I create a wooden palette with my common ‘use brush modes on high of a midtone methodology. My favorite brushes for this are Bristle Oils, with Primary Spherical for tinting. Strokes must be brief and linear.
07: Patterns
To make patterns work, I first roughly shade the bottom that the sample is to lie upon. On this case, I simply added some tough highlights and shadows to the carpet. Then I add a layer and sketch in my form with a clear, textureless brush. (An unscattered Pen will do.) I copy and paste the form round, resizing and rotating it to create a extra intricate sample. Then I modify the angle (Edit > Free Rework). I do know it’s dishonest, however it makes errors simpler to appropriate. Then I decrease the opacity of the blobs and run over them with a really smeary brush (Oily Bristle smoothed by Blender Bristle from Artist’s Oils, maybe), including in strokes of various colors. That is to simulate the color variations and texture of the carpet.
08: Pushing it additional
Subsequent up is the seemingly difficult carpet and wallpaper, that are going to be closely patterned. Utilizing the sample approach I described earlier, I sketch in some fundamental carpet and wallpaper blobs and outline the hearth, curtain, and chair a bit extra. For the wallpaper, I shortly leap again into Photoshop and create a fundamental canvas texture on high of it to interrupt up the graceful, uniform look. You possibly can carry out this course of in Painter as properly by selecting Impact > Floor Management > Apply Floor Texture, however I’m simply used to working with Photoshop filters.
09: Element focus
One other elementary rule when creating a sense of depth is to not go overboard with background particulars. It not solely hurries up your work since you don’t spend time portray each final pixel within the background, however you additionally create a spotlight blur impact, which is likely to be a cool addition to the portray. You are able to do this in two methods. For outside scenes, I discover the Blur instrument helpful, whereas for indoor scenes, I attempt to paint when zoomed out, utilizing enormous color blobs as an alternative of detailed strokes. Test the little grasp copy portraits within the background to see what I imply – they’re painted with larger, a lot looser strokes than the weather you see within the foreground.
10: Fundamentals of shading metallic
The fundamentals of shading metallic are the identical as for any curved floor uncovered to a lightweight supply. You’ve gotten the common type shadow, which is a shade created on the facet of an object that’s merely not uncovered to lighting. As well as, you’ve the bounced off lighting on the very fringe of the form. There are two essential distinctions when shading metallic: first, the highlights are a lot bolder; second, the bounce mild (and subsequently color) impact can also be a lot stronger, and its saturation is corresponding to the saturation of the unique object’s hue. Don’t use Burn and Dodge to shade metallic from scratch. Whereas they are often helpful for strengthening current shading, you’ll wish to do it manually at first so it doesn’t look clearly Photoshopped.
11: Gold in apply
In some circumstances, it’s sufficient simply to trace on the metallic color. See the gold ornaments or small gold frames within the remaining picture to see what I imply. Gold is a mixture of yellows, browns, and khaki greens. To shortly simulate a flat golden factor, paint a yellow stripe, with a daring lemon-yellow spotlight in its center and green-brownish shadows on the sides. For extra intricate designs (together with the large cat portrait), use contrasting colored blobs on high of one another, paint them darkish brown, and put mild yellow blobs on high of it. This solely works for unfastened work and can simulate carvings when seen from afar. An Airbrush or well-blended Oil will just do positive.
12: Shading the marble
One other floor element that is likely to be useful when doing interiors is marble. What you need to do is decide a smearing brush (the Moist Element brush from Acrylics, for instance) and add in darkish, vein-like shapes. Afterwards, run over the world with a blender, smearing just one facet of the vein. Between the veins, add in some color variations, counting on brightness and saturation modifications as an alternative of hue modifications. Highlights may be underlined by daring and yellow lights smeared throughout the world. Make sure you use solely oily brushes for this specific stage.
13: Drop shadows and forged shadows
Parts in your portray should work together. You possibly can create a sense of depth via perspective, however when you overlook about including lighting interplay, it is going to all find yourself wanting synthetic. Nothing will add as a lot to the three-dimensional really feel of the piece as appropriately added shadows and highlights. Other than type shadows (areas not uncovered to mild), you even have forged shadows, that are fashioned by components uncovered to the sunshine supply.To show this rule, I chorus from portray in any larger forged shadows throughout my working course of. Do you see how flat all of it seems? Successive components, regardless of a standard mild supply, appear copied and pasted in, and altogether, it simply doesn’t look proper. I open up a layer and, utilizing Multiply and Regular modes, I airbrush within the vital shading that’s missing. Doesn’t it immediately appear so significantly better?
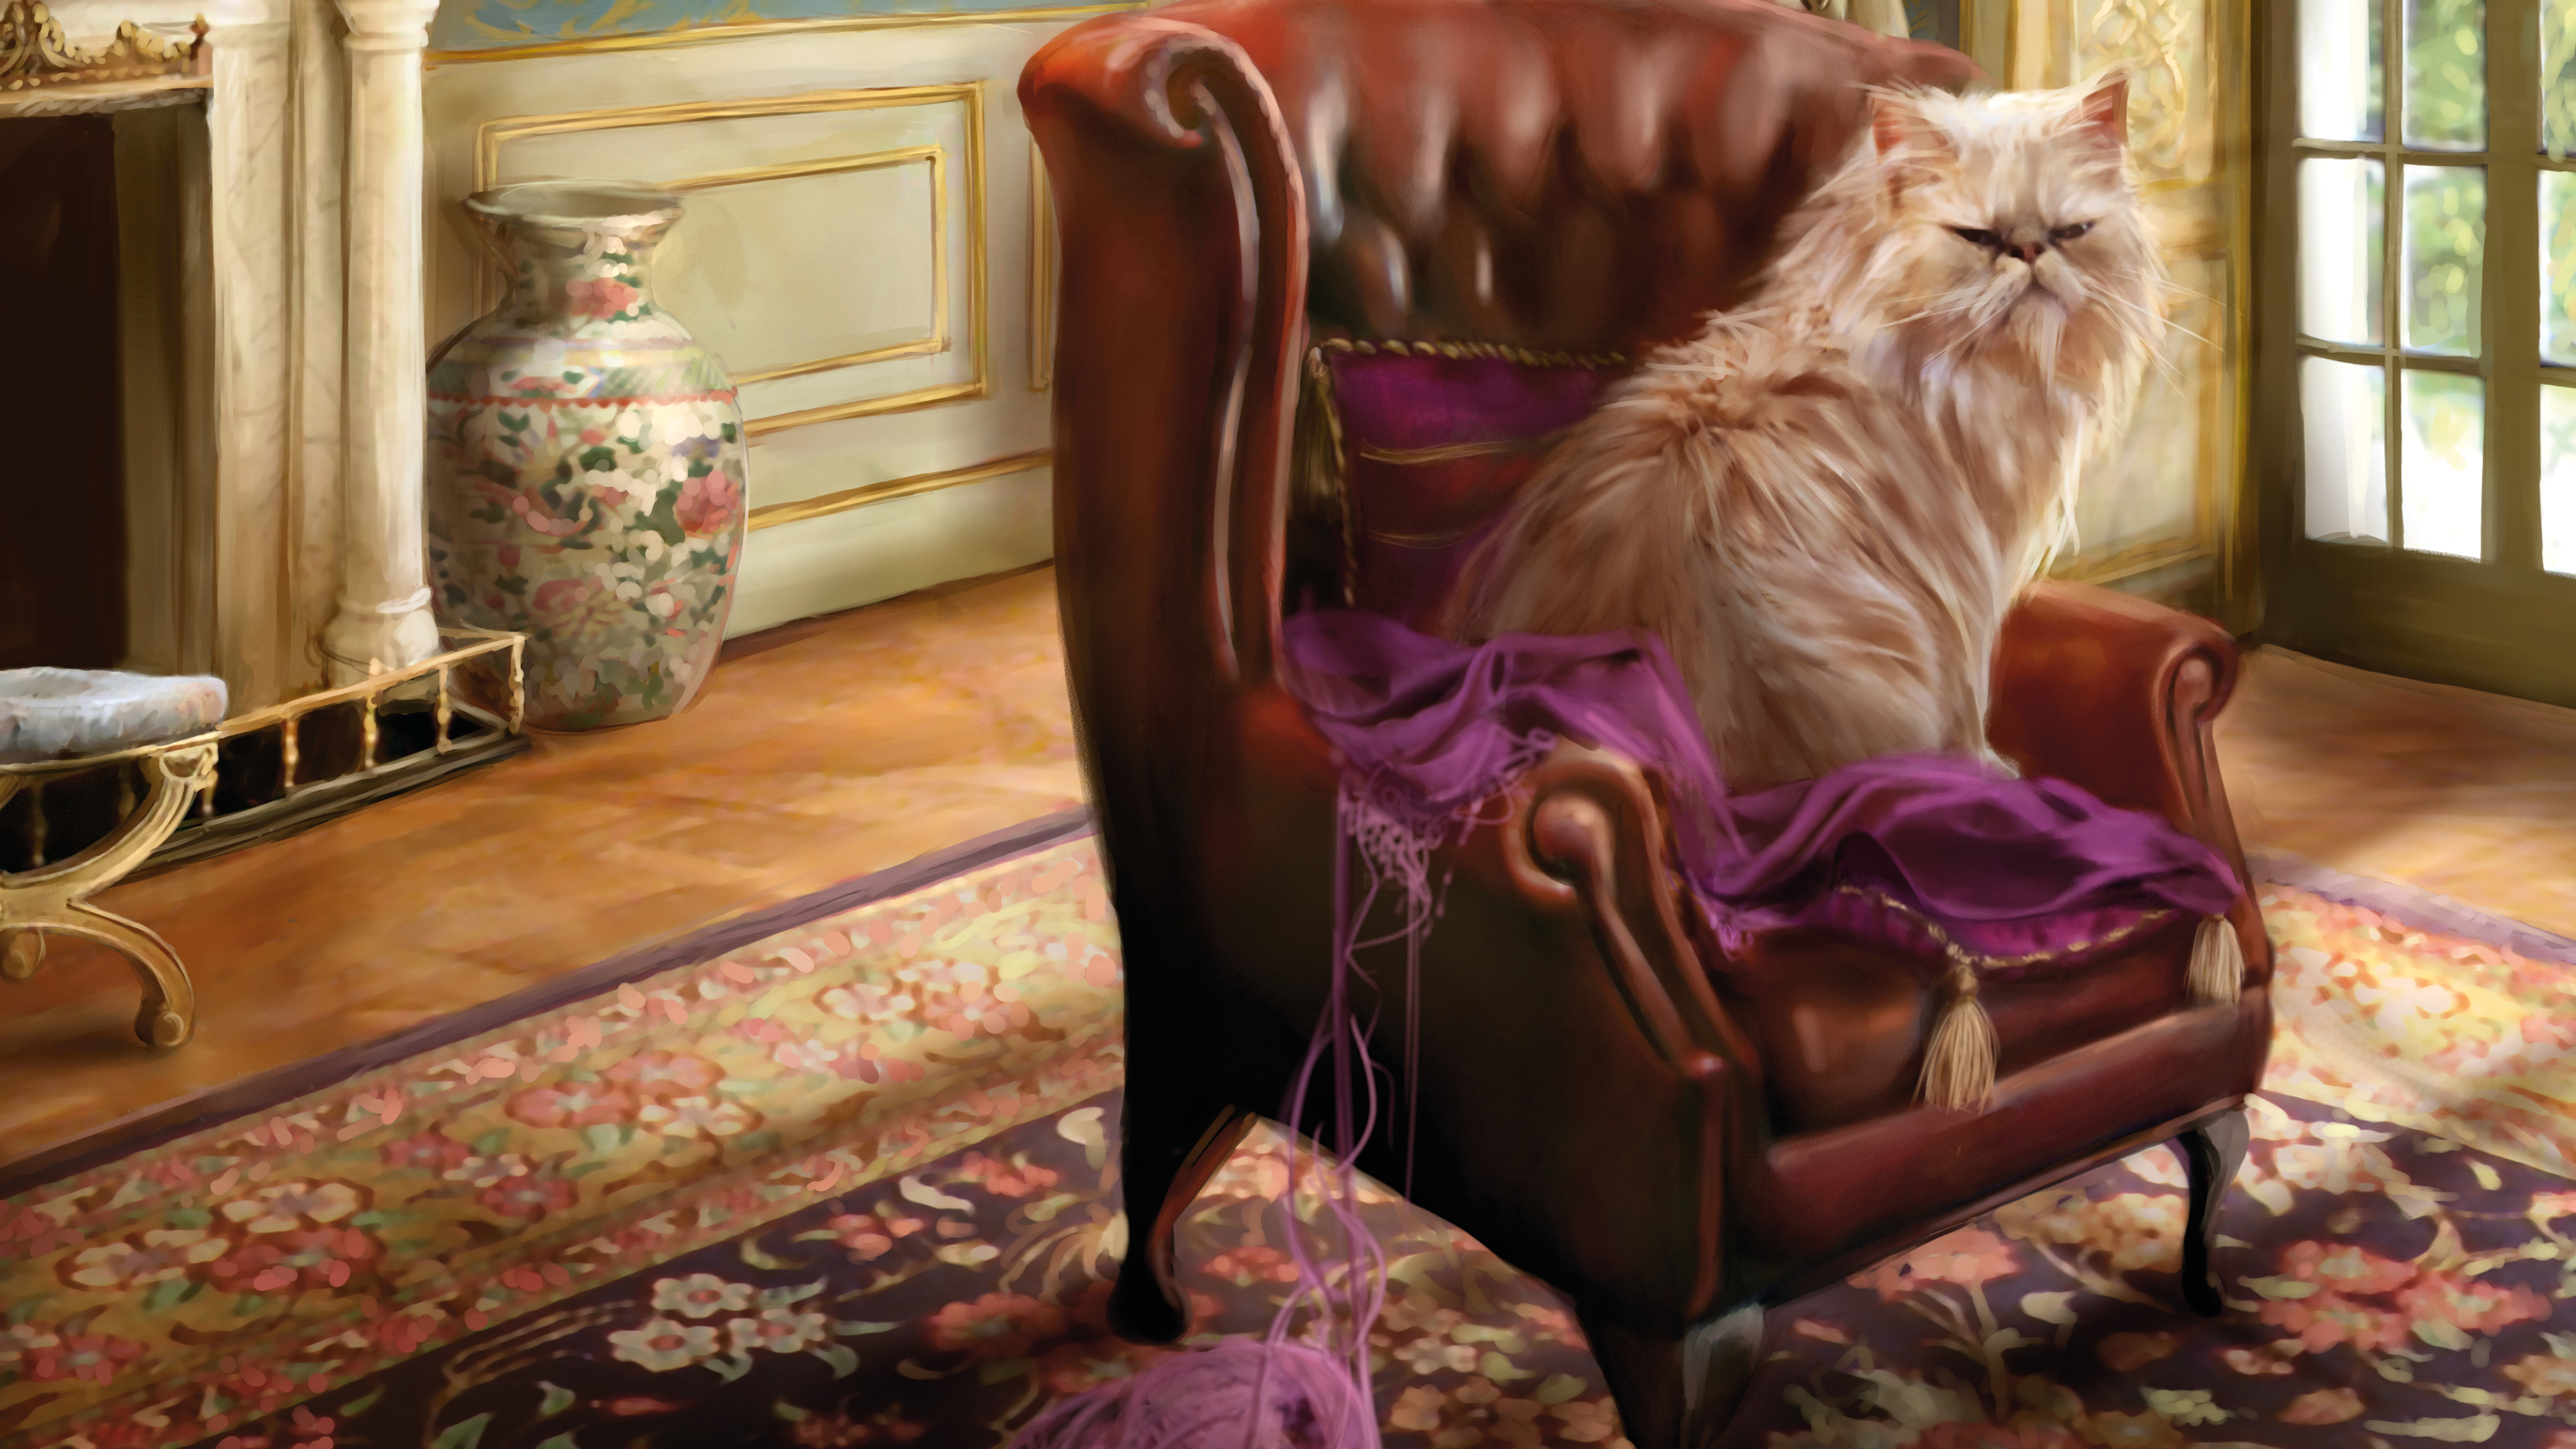
14: Ultimate picture
After portray within the very important elements of the picture, it’s all the time a good suggestion to seek for issues to enhance. I flatten the layers, load the piece again into Photoshop, and shortly Dodge (with Airbrush set to Highlights) probably the most highlighted a part of the picture to strengthen the sunshine supply. It’s a refined stage and needs to be accomplished with care – an excessive amount of Dodge and it’ll look synthetic. After that, I take one remaining look and contemplate myself accomplished… Phew!
Day by day design information, critiques, how-tos and extra, as picked by the editors.