

This Photoshop tutorial was written by Olly for our Digital Portray journal, again when digital artwork was a brand new and modern artwork type. As such, you might discover Olly utilizing an older model of Photoshop (CS6 – yikes) and a precursor to at present’s Home windows tablets, like Microsoft Floor Professional 9, he used an Asus EP121 (double yikes). However the concepts, method, and strategies are timeless, so we figured this can be a nice tutorial to dig out and share. And with that, it is over to Olly…Welcome to my first-ever digital plein air tutorial! I’m going to go over one in all my present favorite issues in digital portray – portray a standard panorama from life en plein air. En plein air is French for ‘within the open air’. This can be a nice method that I imagine might help to push our understanding of sunshine and color when portray, and it occurs to be a surprisingly difficult train, particularly after solely finding out photographs of landscapes.I’ve been doing this for some time now, and I exploit an Asus EP121 with Photoshop CS6, and generally Paint Instrument SAI for sketching out traces.
You might like
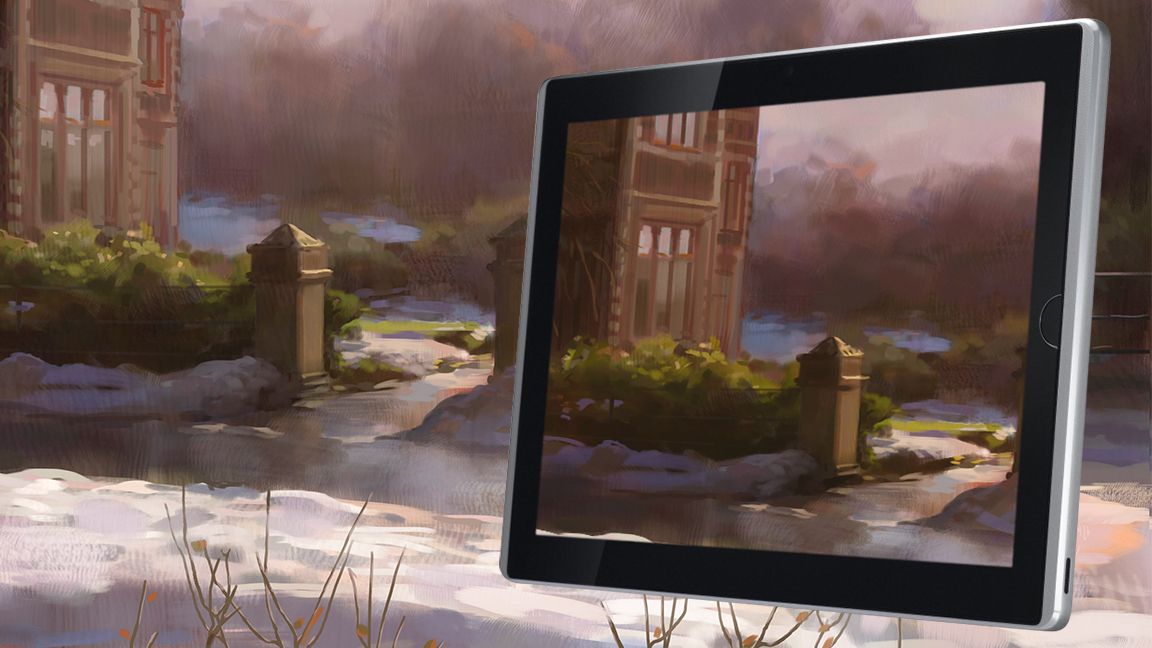
It’s a extremely thrilling time for digital artwork, as for the primary time, we will step exterior and paint the sunlit world digitally. There’s some lovely artwork being made in the intervening time by this technique, and an entire lot might be discovered from it as properly.’Numerous artists I do know have discovered that doing digital nonetheless life work of their desk is an effective way to study mild, color, supplies, and kinds – and I like to think about this as an much more superior and provoking model of that.We are able to actually see the consequences plein air portray had on the normal artwork world when artists equivalent to Claude Monet began documenting the sunlit world and its vibrant colors with oil paints. As we speak, I will probably be trying to comply with in these artists’ footsteps, however this time utilizing digital instruments.So seize your pill or laptop computer and put together to open your eyes to a brand new manner of digital portray… and have enjoyable.Each day design information, evaluations, how-tos and extra, as picked by the editors.(Picture credit score: Olly Lawson)
1. The {hardware}
(Picture: © Olly Lawson)
Any pill or smartphone with any portray software program is appropriate, and even only a laptop computer and a pill. Though I exploit Photoshop, I’m protecting brushes and software program instruments easy, so it really works with any setup. As I’m a shortcut addict, I exploit an inexpensive USB numpad I ordered on-line, and use Randyrant’s SharpKeys to map the USB numpad to keyboard letters, which might be arrange as shortcuts in any portray software program.
2. On-screen buttons
On a pill, portray software program tends to be designed a lot better for contact screens, so for these, this sort of gadget isn’t wanted. However on Home windows tablets, there’s a good on-screen show, ‘Paintdock’ (The primary outcomes on Google for ‘paintdock’). That is one other nice free program for on-screen buttons. Personally, I wish to work in full display screen with out something obstructing my view, so I often keep on with {hardware} for shortcuts. (Lately, Home windows tablets and 2-in-1s are higher, however the recommendation stays the identical. Learn our greatest laptops for drawing information for extra.)
3. Taking alongside the correct package
Relying on the place I am going to do my portray, I usually make use of an inexpensive, collapsible tenting stool. These broaden the choices of the place I can paint from, however they’ll add a little bit of weight to my bag. Benches are often positioned in scenic places; in any other case, a blanket could be a good suggestion. Hand-warmers are nice within the winter, and I exploit exterior battery packs for the pill throughout prolonged portray periods.(Learn out information to digital plein air portray to find what different artists use.)
4. Defeating glare
When portray below the solar, there could be a drawback of glare on the display screen. This will get in my eyes and dims the display screen, and I’ll find yourself taking a look at some very vivid, saturated work when reviewing the portray inside. Even on the perfect screens, this can be a drawback, so engaged on an easel rotated away from the solar is an efficient answer, or I usually use a tripod-mounted umbrella as a sunshade. This additionally helps block inclement climate.(Even at present, with new anti-glare screens on tablets just like the Ugee UT3 and the perfect iPad for drawing, that is nonetheless a difficulty.)
5. Beginning to paint
(Picture: © Olly Lawson)
I take a while discovering a location, however not too lengthy. An enormous problem will probably be in dealing with the solar. The sooner I begin the higher, particularly within the winter months the place there are much less hours of daylight. Organising round dawn is actually probably the most ultimate, particularly when I’m on a decent schedule. I’d already scoped out my location earlier than, and knew there can be benches so I didn’t must convey the tenting stool this time.
6. Portray utilizing a transparent workspace
(Picture: © Olly Lawson)
That is my workspace for many of the portray. On a desktop, I work solely in full display screen, however I like to make use of MagicPicker for colors on my Asus EP121. There are solely very uncommon occasions I would like to make use of one thing in Photoshop’s menus that may’t be accessed by a shortcut, so I’m capable of work with few distractions on the display screen. That is particularly necessary to me when I’m engaged on a small-screened gadget en plein air.
7. Creating the underpainting
(Picture: © Olly Lawson)
Right here I’m beginning by laying down a unfastened, vivid, and heat texture. This can present up later in between the brushstrokes, and utilizing a properly saturated heat tone will assist usher in some much-needed reds into this leafy inexperienced piece. I simply use any textured brush – it’s best to simply apply a photograph of some concrete to any brush and get some noise on there, in order that I’m not portray on a flat, sterile floor.
8. Working ‘alla prima’
(Picture: © Olly Lawson)
Though I began with an underpainting, the way in which I work from life will principally be ‘alla prima’. That is the title of the wet-on-wet artwork approach utilized by artists from John Singer Sargent to Richard Schmid. It includes making an attempt to put every stroke completely, in order that they are going to be there by the tip of the portray. I don’t have time to layer issues up when working by the solar’s time, so I’ve to make each mark depend.
9. Selective focus
(Picture: © Olly Lawson)
Underneath the solar, I don’t have time to make a rendered picture, so I’m focusing primarily on the gate. This has the completely happy aspect impact of protecting give attention to it as an in depth space, if I don’t overdevelop the remainder of the portray. I’m going for accuracy nonetheless, even at these early levels. I don’t wish to have to maneuver issues about or be caught when issues don’t match collectively as a result of unhealthy measuring initially.
10. Pushing the sky
(Picture: © Olly Lawson)
You’ll quickly uncover that the values the artist can understand in daylight vastly outnumber the values a monitor can present, and we have to ‘compress’ our vary of values to our work. I’m establishing the darkest darks I can see at this level. I do know in my thoughts roughly what worth the lightest lights will probably be, however I save putting them to the tip as highlights, as a result of I need them on high and strong.
11. Exploring color
(Picture: © Olly Lawson)
The principle factor I wish to discover is color. When observing strongly lit surfaces, we see an exquisite number of colors and the energy of edges {that a} digital camera can not seize. The snow is superbright pinks and yellows on blue, so I place down these colors and break them up with vivid whites and darks for shadows to unify the general values.
12. Deciphering what I see
(Picture: © Olly Lawson)
Trying throughout a panorama, the planes on the ground are very flat, and this implies there are plenty of tight horizontal traces on the bottom. This exhibits depth, however must be balanced with vertical shapes. I’ve joined these by inventing a bush between the constructing and the gates. This provides a layer of depth and balances the color, and the extra random stroke course of the bushes cuts up the robust horizontals and verticals.
13. Including a human contact
(Picture: © Olly Lawson)
I don’t wish to be a slave to what’s in entrance of me. Generally a component might be just a bit off, or the climate on that day may not be nice. The artist can push areas about or invent, simplify, or take away components to enhance the general image. I imagine artists as designers shouldn’t work like a digital camera, and this human abstraction is what makes for a extremely nice image from life.
14. Working with altering mild
(Picture: © Olly Lawson)
I’m a number of hours into the portray now, and I’m discovering that the sunshine and colors exterior are always altering. Because the solar travels throughout the sky, each worth and color modifications. In getting the necessary components positioned down, I can then proceed to color them from my established marks, however I’m additionally having to invent plenty of issues as the sunshine modifications. This takes fairly a little bit of observe, as I’ve to foretell early on how the lights will behave on the surfaces all through the remainder of the day.
15. Cropping the composition
(Picture: © Olly Lawson)
This can be a horizontal composition, and I’m not that happy with how the home is working within the portray. So I made a decision to strive cropping the home all the way down to a extra letterbox ratio. Not having any limitation on the dimensions of the canvas all through a portray could be a actually helpful benefit over conventional portray. Nonetheless, I do attempt to keep away from counting on this selection as a crutch and at all times try to ascertain an honest composition from the outset, in order to not waste time additional down the road.
16. Subsequent day portray
(Picture: © Olly Lawson)
I return one other day to begin once more below daylight. I pushed the snow in earlier steps as a result of I knew that at present it could have modified quite a bit, so any longer, I’ll work solely on the remainder of the picture. Because the morning lighting is far nicer, I re-ignite a few of the planes with the Smooth Mild mixing mode, to strengthen darks and lights on the partitions, tree, and pillars.
17. Including element
(Picture: © Olly Lawson)
In contrast to a typical shopper piece, a sunlit examine is just not one thing I can spend all day on with rendering. The second day is drawing to a detailed, and I’ve taken some photographs all through the day to develop some elements additional at dwelling. I’m nonetheless leaving some heat tones to point out by the snow, as cautious statement reveals that the sunlit white snow conceals an iridescent rainbow of colors.
18. Ending up
I’ve just about accomplished the portray now. I return dwelling and see what it appears like out of the daylight. The colors are typically brighter and extra saturated, so I dim them down somewhat bit and unify the lights/darks. I take a break from it for per week, and with contemporary eyes, contact up particulars that look misplaced. Thanks for studying – I hope you’ll study one thing with this train!
And there we’re, people, Olly’s timeless workflow and recommendation from manner again when digital artwork was however a smudge on Adobe’s revenue sheet. If you wish to put a few of these concepts into observe, it is best to learn up on new tech just like the XPPen Magic Drawing Pad and devoted cellular artwork apps like Procreate (learn our Procreate tutorials) and Heavy Paint.Karl Simon’s ‘How I exploit an iPad to color from life in a museum’ tutorial can be a implausible learn for getting began in outside digital artwork.